In this article, I will walk you through how to convert your physical machine (client or server) into a Hyper-V virtual machine. The steps are very easy and straightforward.
1 — Download the Disk2vhd tool on the physical machine
Disk2vhd is a Microsoft tool that is simple and easy to use. You can download it from the official Microsoft website: https://learn.microsoft.com/en-us/sysinternals/downloads/disk2vhd.
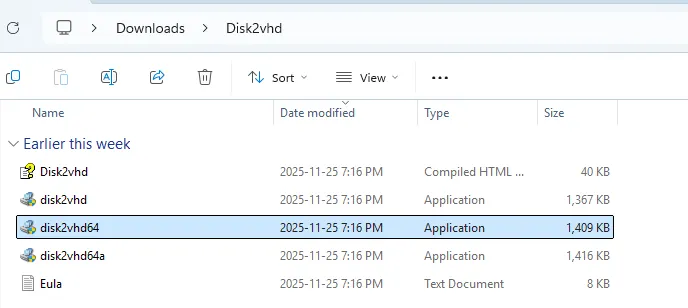
After downloading, extract the ZIP folder and run the appropriate executable for your system, in my case I ran Disk2vhd64.exe
2 — Convert your physical machine
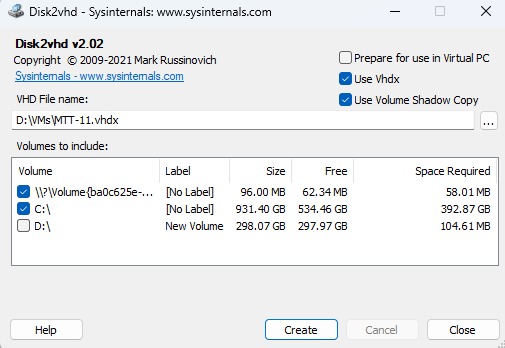
Select all the volumes you want to convert. In general this will be the C: drive (OS) and EFI System Partition.
Ensure that use VHDX is selected. It’s also a good idea to select Use Volume Shadow Copy, as this will create a snapshot to ensure data consistency. Lastly, specify where you want to export location and verify there’s enough space. You all set, you can now click on Create.
3 — Create a new VM on Hyper-V
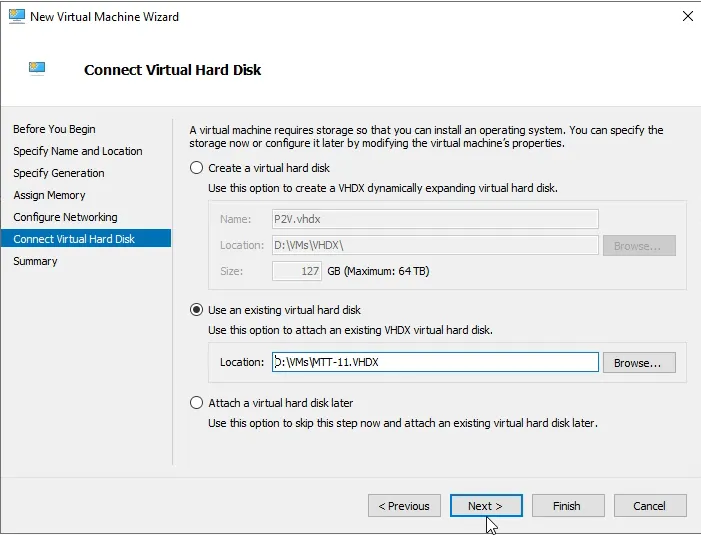
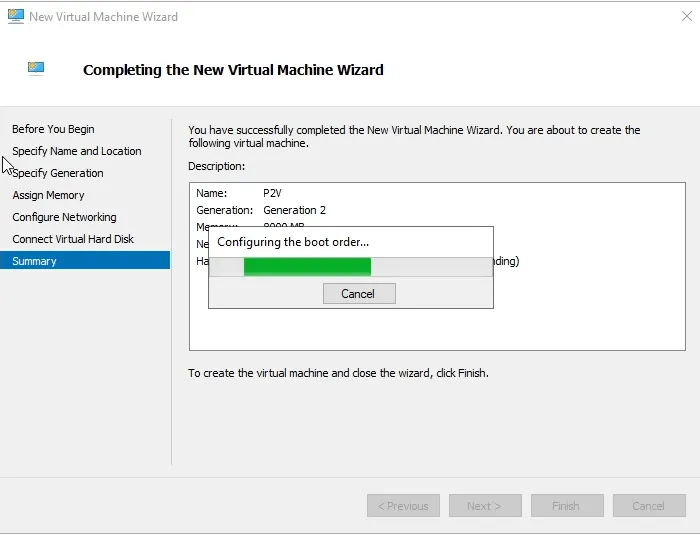
In Hyper-V, create a new virtual machine as usual. In t he Connect Virtual Hard Disk window select Use an existing virtual hard disk and then choose the VHDX file you created in step 2.
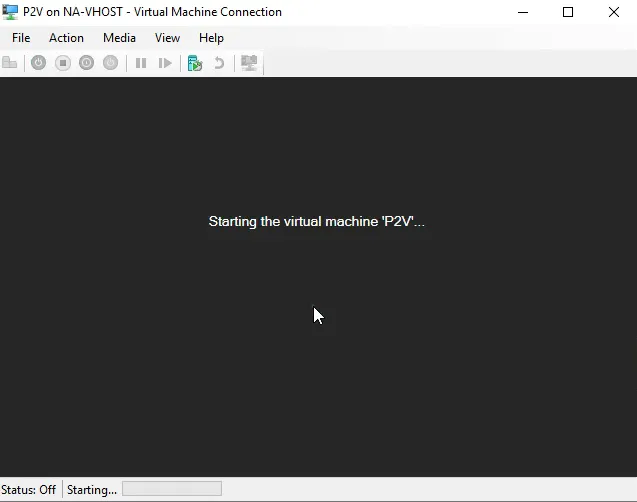
Once the VM is created, you can go ahead and start it.

And that’s all! Enjoy your new virtual machine, and feel free to reach out if you have any questions.